
Artwork by Bonny Lhotka
UV-LED printing has become hugely popular in the last decade thanks to its instant, low-temperature curing and its ability to print highly durable designs onto almost any substrate.
A key benefit of UV printing is the ability to add gloss or clear ink. When printed and cured, this special ink takes on a rigid, 3D appearance. This simple functionality unlocks new print effects, textures, and capabilities which can enhance printed products and ultimately generate more profit.
Let’s look at some of the things you can do with gloss UV ink.
Print Spot UV Highlights
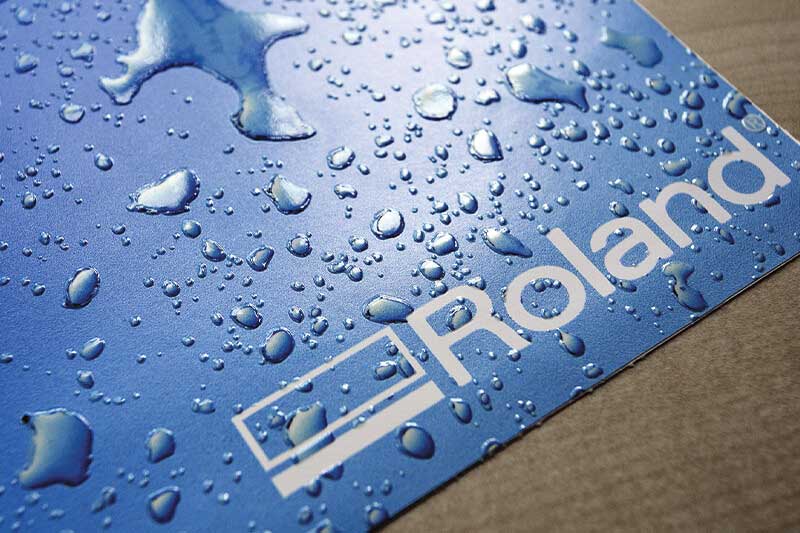
Clear gloss ink can be used to create realistic water droplets.
One of the simplest uses of gloss ink is to highlight important areas of the design with an eye-catching gloss varnish effect. This spot UV technique is particularly useful if you want to call attention to a logo or an important promotional message. It can also be used very effectively to highlight liquids like water droplets, giving a realistic effect.
Print Embossed and Debossed Effects
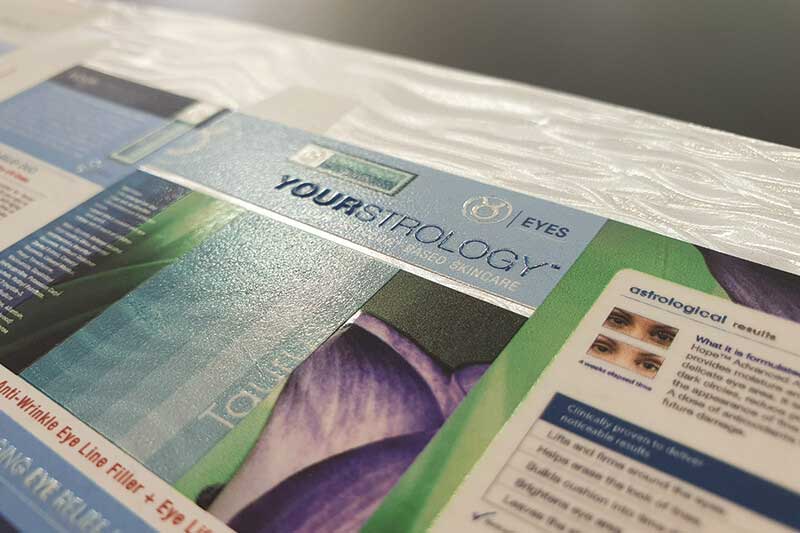
Embossed text simulated with gloss UV ink on a packaging mock-up.
At the level of mass production, embossed effects require a custom-made die or stamp. When it comes to smaller runs or packaging mock-ups, it’s prohibitively expensive to recreate this effect using the same method. This is part of the reason why UV printing has become very popular in the field of packaging prototypes and design, offering the ability to produce a convincing embossed effect quickly and cost effectively.
Print Texture Effects
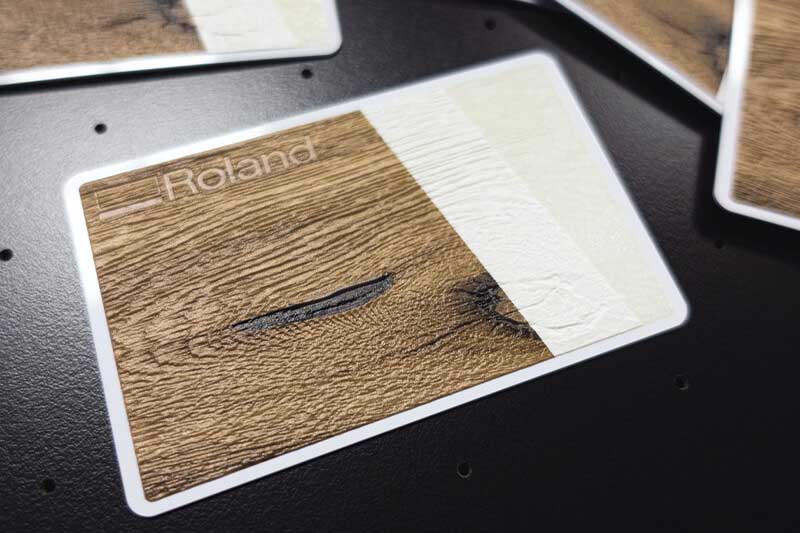
Woodgrain texture generated with gloss UV ink on haptic proof.
Building up layers of gloss ink can generate realistic printed textures for a variety of products. For example, you can print an animal skin texture for luxury items or print a wood-grain texture for haptic proofs used in interior design. You can even use it to reproduce an attractive oil painting, complete with textured brush strokes.
How It Works: Creating A Realistic Oil Painting
So, what does a gloss project look like in practical terms? Provided you have an intuitive and fully functional RIP like Roland DG's VersaWorks, all you really need is some design software like Adobe Illustrator. We will look at producing a brushstroke texture on an oil painting, but the process is quite similar for all gloss ink applications.
Designing the Gloss Layer
This is the most complicated part of the project, and it’s really quite straightforward. For most RIPs, you will need to assign a spot colour to designate where the gloss ink should go. If you are using Adobe Illustrator, for example, all you need to do is to ensure your gloss shapes are filled with the required spot colour.
How Gloss Thickness is Defined
In general, the thickness of the gloss section is defined by the opacity of the colour. If you want to create a smooth dome, you can create a radial gradient with the opacity of the colour reducing as it approaches the edge of the shape. If you give the entire shape an opacity of 100%, the gloss effect will drop off abruptly at the edge of the shape.
Working with Raster Images
It’s usually easier to work with vector shapes when creating a gloss layer. For our oil painting, we have used a raster image containing a brushstroke pattern. Converting this to gloss data is relatively simple when using Adobe Illustrator. Simply convert the colours of the image to greyscale and set the fill colour to the gloss spot colour. Again, wherever the image is darkest, more gloss ink will be printed. If this isn't the effect you wish to achieve, you can invert the colours.
Looking for More?
Do you want to know more about how to add gloss UV capability to your business? Connect with a Roland DG expert here.