
Historically, a great workflow for achieving cut accuracy in a “print/laminate/cut” job involving long runs of decals has been the CustomCut function in VersaWorks. In short, you would create a page that is the size of each row of your image by using CustomCut in the Layout window as opposed to the default CustomRoll. By breaking the job down into manageable print/cut sections or pages, CustomCut allowed for excellent cutting precision. The printer would simply read the registration marks for each group of images prior to cutting. While this process was not very difficult, it did require some advanced planning and a bit of math.
Print/Laminate/Cut Accuracy Is Now Easier
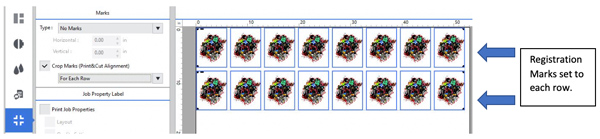
The introduction of VersaWorks 6 has made achieving this kind of accuracy even easier. In VersaWorks 6, you can skip all the steps previously required for CustomCut by simply selecting the type of Crop Mark Layout desired in the “Marks” section of the RIP. If you only need registration marks around your entire grouping, that choice is still available. However, if you find that registration marks around each row of images allow for better accuracy, you can choose “Crop Marks for Each Row” as shown below.
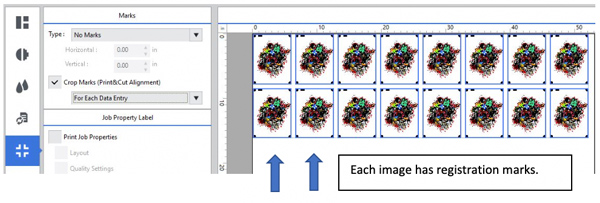
If you determine that the complexity of your image requires very precise print cut registration, you can select “Crop Marks for Each Data Entry.”
Click below to view a short video guide on the different crop mark options available in VersaWorks 6:
VersaWorks 6 Free Upgrade
If you haven’t yet upgraded your RIP to the latest version of VersaWorks 6, you can do so for free. Click here to find out more and upgrade.